
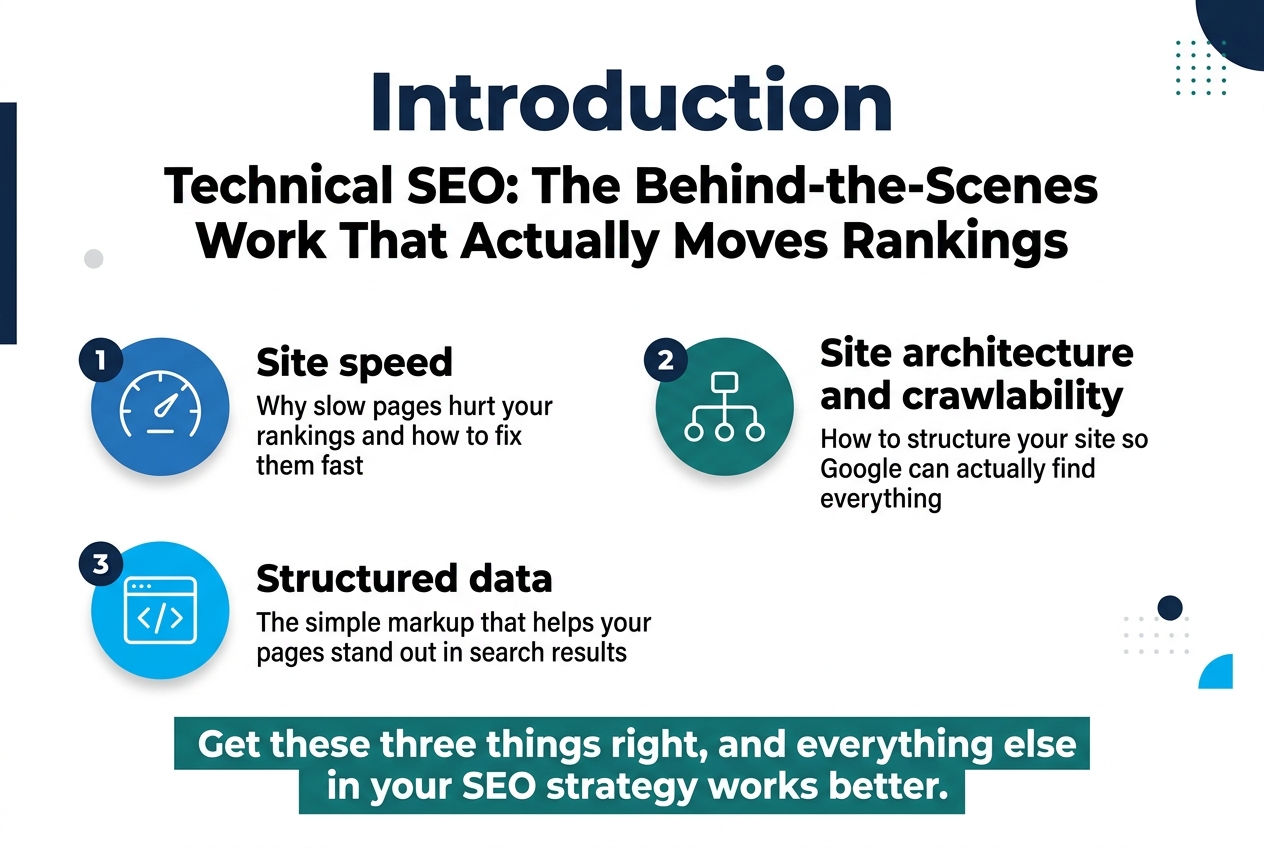
If your content is solid but your rankings are stuck, technical SEO is probably the missing piece.
This guide is for website owners, developers, and marketers who want search engines to crawl, index, and rank their sites without friction. No fluff — just the practical stuff that makes a real difference.
Here’s what we’ll cover:
- Site speed — why slow pages hurt your rankings and how to fix them fast
- Site architecture and crawlability — how to structure your site so Google can actually find everything
- Structured data — the simple markup that helps your pages stand out in search results
Get these three things right, and everything else in your SEO strategy works better.
Master the Foundations of Technical SEO
Understand How Search Engines Crawl and Index Your Site
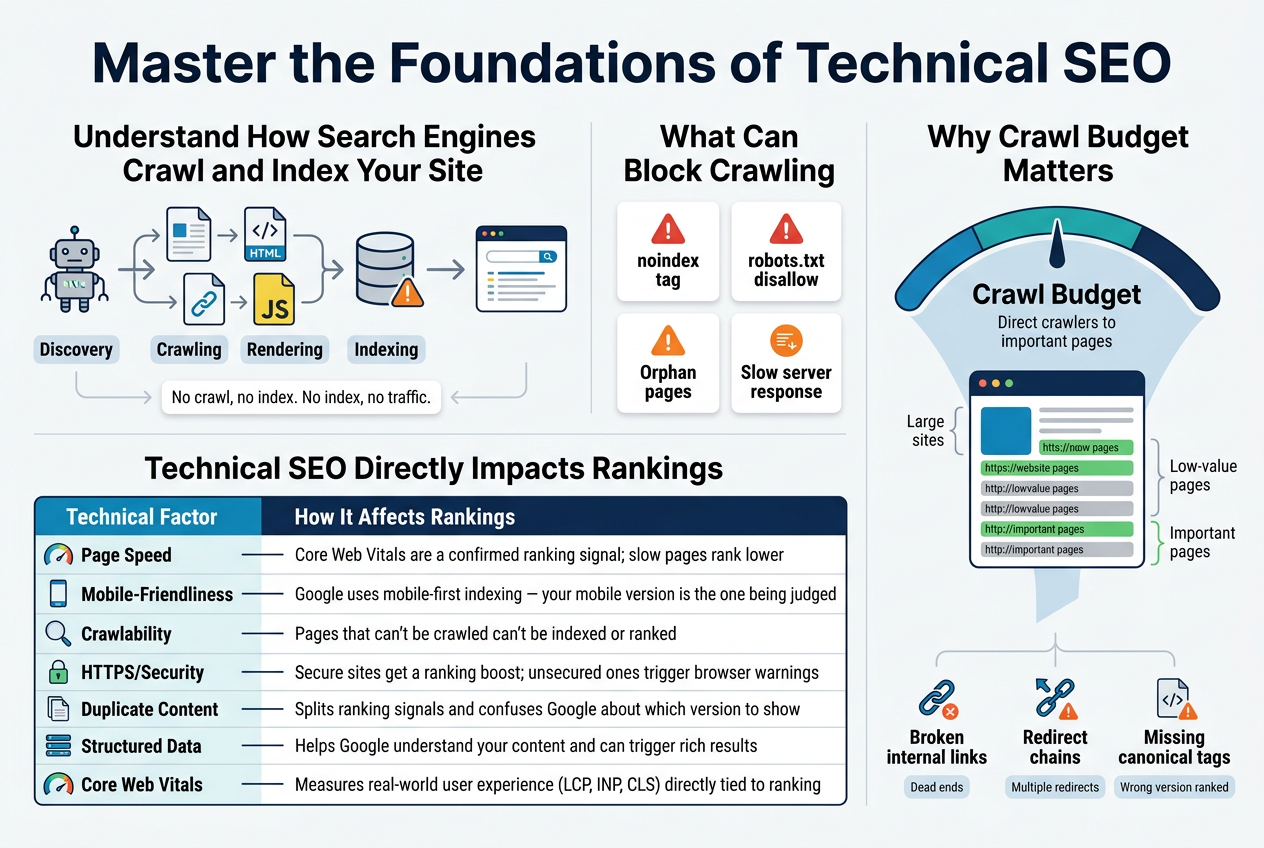
Search engines like Google send out automated bots — commonly called crawlers or spiders — to discover and read the content on your website. Think of these bots as digital librarians. They follow links from one page to another, collecting information along the way, and report back to a massive database called an index. When someone types a search query, Google pulls results from that index — not from the live web.
Here’s where things get interesting: if your pages aren’t being crawled properly, they simply won’t show up in search results. No crawl, no index. No index, no traffic.
The Crawling Process Broken Down
- Discovery – Bots find your pages through links, sitemaps, and direct URL submissions in Google Search Console.
- Crawling – The bot visits each URL and reads the page’s HTML, images, scripts, and metadata.
- Rendering – Google processes JavaScript to understand dynamic content.
- Indexing – Pages that pass quality checks get stored in the index and become eligible to rank.
Several things can block this process without you even realizing it:
- A
noindextag accidentally left on key pages - A
disallowrule in yourrobots.txtblocking entire sections of your site - Orphan pages with no internal links pointing to them
- Slow server response times that make crawlers give up before loading the page
Crawl Budget — Why It Matters for Larger Sites
Every website gets a crawl budget, which is essentially the number of pages Google is willing to crawl within a given timeframe. For small sites, this rarely becomes a problem. But if you’re running a large e-commerce store or a site with thousands of URLs, wasting crawl budget on low-value pages (like thin filters or duplicate parameter URLs) means your important pages get crawled less often.
Smart technical SEO means directing crawlers exactly where you want them to go — and keeping them away from pages that don’t deserve attention.
Learn Why Technical SEO Directly Impacts Your Rankings
Most people associate SEO with keywords and backlinks. Those things absolutely matter, but they’re sitting on top of a technical foundation. If that foundation is shaky, even the best content strategy in the world will underperform.
Here’s a straightforward way to think about it: imagine you’ve written the most thorough, accurate article on a topic. But your page takes 8 seconds to load, has duplicate content across multiple URLs, and isn’t mobile-friendly. Google’s algorithms pick up on all of that — and your rankings take the hit.
Key Areas Where Technical SEO Shapes Your Rankings
| Technical Factor | How It Affects Rankings |
|---|---|
| Page Speed | Core Web Vitals are a confirmed ranking signal; slow pages rank lower |
| Mobile-Friendliness | Google uses mobile-first indexing — your mobile version is the one being judged |
| Crawlability | Pages that can’t be crawled can’t be indexed or ranked |
| HTTPS/Security | Secure sites get a ranking boost; unsecured ones trigger browser warnings |
| Duplicate Content | Splits ranking signals and confuses Google about which version to show |
| Structured Data | Helps Google understand your content and can trigger rich results |
| Core Web Vitals | Measures real-world user experience (LCP, INP, CLS) directly tied to ranking |
The Connection Between User Experience and Rankings
Google’s goal is to point users toward results that are not only relevant but also enjoyable to use. That’s why technical SEO and user experience have become increasingly intertwined. A page that loads fast, displays correctly on mobile, doesn’t shift around while loading, and serves content securely is rewarding both users and search engines at the same time.
When your technical setup is solid, your other SEO efforts — content creation, link building, on-page optimization — get amplified. A well-optimized page with solid backlinks and clean technical structure will consistently outperform a technically broken competitor, even if that competitor has more content.
Common Technical Issues That Kill Rankings
- Broken internal links – Lead bots and users to dead ends, wasting crawl budget and destroying user trust
- Redirect chains – Multiple redirects in sequence slow things down and dilute link authority
- Missing canonical tags – Without them, Google might choose the wrong version of a page to rank
- Slow Time to First Byte (TTFB) – Even before a user sees anything, a slow server is already sending a bad signal
- Unoptimized XML sitemaps – Including noindexed or redirected URLs wastes Google’s time and your crawl budget
Getting these fundamentals right isn’t glamorous work, but it’s the kind of thing that separates websites that consistently rank from those that stall out and plateau despite strong content efforts.
Boost Site Speed for Better Rankings and User Experience
A. Measure Your Current Page Speed With the Right Tools
Before you can fix anything, you need to know exactly where you stand. Think of it like going to the doctor — you wouldn’t just start taking random medication without getting a diagnosis first. Measuring your page speed accurately gives you a clear starting point and tells you what’s actually slowing your site down.
The Go-To Tools for Page Speed Testing
Here are the most reliable tools SEO professionals reach for when auditing site speed:
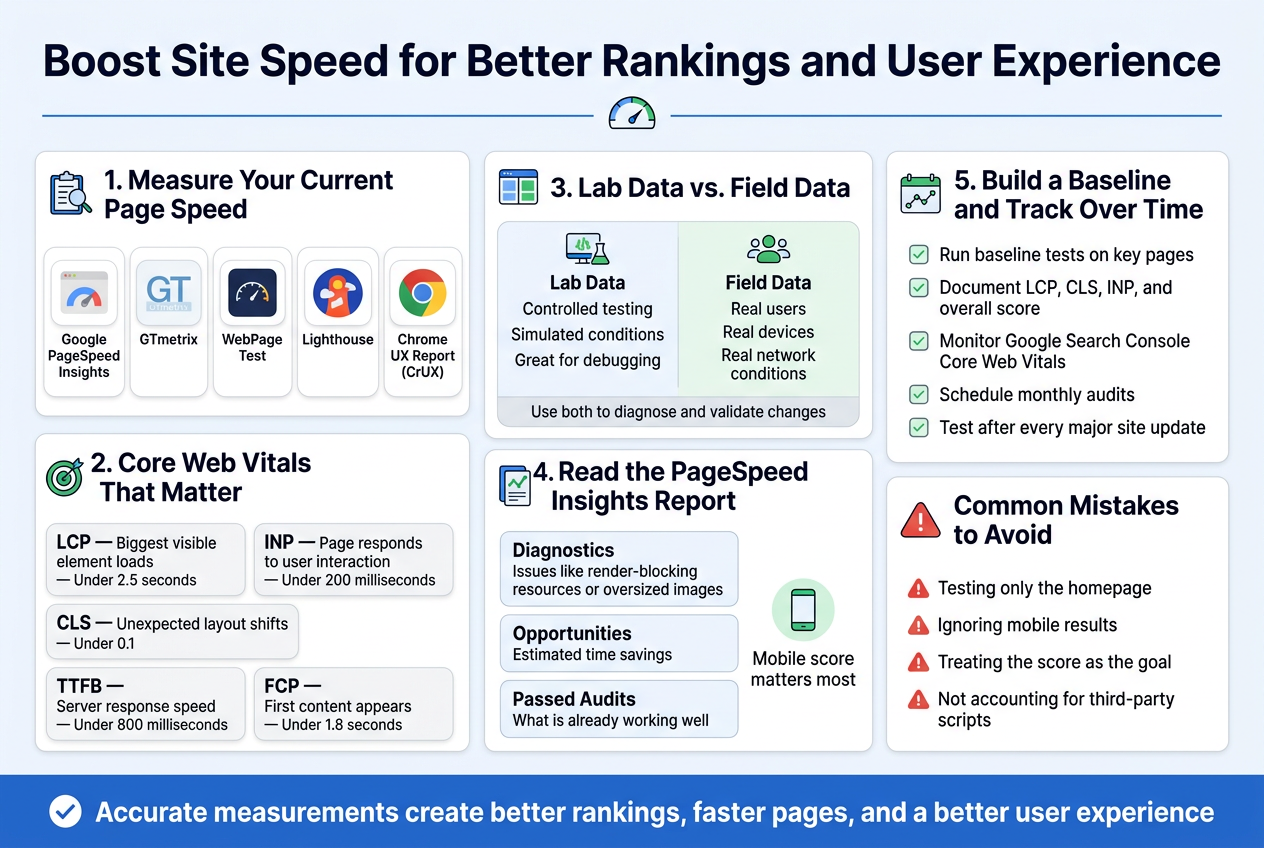
- Google PageSpeed Insights — Built directly by Google, this tool scores your pages on both mobile and desktop performance. It breaks down Core Web Vitals data and gives you specific, actionable recommendations. Since Google uses these metrics as ranking signals, this is a non-negotiable starting point.
- GTmetrix — GTmetrix gives you a detailed waterfall chart showing exactly how each element on your page loads. You can test from multiple server locations and see historical performance trends over time.
- WebPageTest — This is the go-to tool for deep technical analysis. It lets you test from real browsers, set connection speeds, and even run filmstrip views that show your page loading frame by frame.
- Lighthouse — Built into Chrome DevTools, Lighthouse runs a full audit directly in your browser. Great for quick checks during development without leaving your workspace.
- Chrome UX Report (CrUX) — This pulls real-world field data from actual Chrome users visiting your site. Unlike lab-based tools, CrUX shows you what your visitors genuinely experience.
Understanding the Metrics That Actually Matter
Not all page speed numbers are created equal. Here’s a breakdown of the Core Web Vitals metrics Google pays close attention to:
| Metric | What It Measures | Good Score |
|---|---|---|
| LCP (Largest Contentful Paint) | How long it takes for the biggest visible element to load | Under 2.5 seconds |
| INP (Interaction to Next Paint) | How quickly your page responds to user interactions | Under 200 milliseconds |
| CLS (Cumulative Layout Shift) | How much the page layout shifts unexpectedly during loading | Under 0.1 |
| TTFB (Time to First Byte) | How fast the server responds to the first request | Under 800 milliseconds |
| FCP (First Contentful Paint) | When the first piece of content appears on screen | Under 1.8 seconds |
Lab Data vs. Field Data — Know the Difference
When you’re looking at speed test results, you’ll run into two types of data:
Lab data is collected in a controlled environment using simulated conditions. Tools like Lighthouse and GTmetrix use lab data. It’s great for debugging because it’s consistent and repeatable, but it doesn’t always reflect what real users experience.
Field data is collected from actual users visiting your site in the real world, with their real devices and real network connections. Google’s CrUX report and PageSpeed Insights (when enough data is available) pull field data. This is what Google actually uses when evaluating your site for ranking purposes.
A smart approach is to look at both. Use lab data to spot and fix specific performance issues, and use field data to validate that your changes are making a real difference for actual visitors.
How to Read Your PageSpeed Insights Report
When you run a test in PageSpeed Insights, the results are broken into sections:
- Diagnostics — Specific issues identified on your page, like render-blocking resources or oversized images
- Opportunities — Estimated time savings you could gain by fixing particular problems
- Passed Audits — Things already working well (worth reviewing to make sure they stay that way)
Pay special attention to the mobile score. Google uses mobile-first indexing, meaning it primarily crawls and evaluates the mobile version of your site. A desktop score of 90 means nothing if your mobile score sits at 45.
Setting Up a Baseline and Tracking Over Time
A one-time speed test gives you a snapshot, but you need ongoing tracking to understand how your performance changes as you add new content, plugins, or features.
Here’s how to set up a proper tracking system:
- Run baseline tests on your most important pages — your homepage, key landing pages, and your highest-traffic blog posts
- Document your scores in a simple spreadsheet, recording LCP, CLS, INP, and overall score
- Set up Google Search Console and monitor the Core Web Vitals report regularly — it aggregates field data and flags URLs that fall below the threshold
- Schedule monthly audits using GTmetrix or WebPageTest to catch regressions before they become major issues
- Test after every major site update — new themes, plugins, or third-party scripts can quietly tank your performance
Common Mistakes When Measuring Page Speed
- Testing only the homepage — Your homepage often gets the most optimization love, but product pages, blog posts, and landing pages might be in terrible shape
- Ignoring mobile results — Desktop scores can look great while mobile performance is struggling badly
- Treating the score as the goal — A PageSpeed score of 100 sounds great, but if your actual Core Web Vitals field data still shows poor performance, the score means very little
- Not accounting for third-party scripts — Ad networks, chat widgets, and analytics scripts can dramatically affect load times, and many speed tests don’t fully capture their real-world impact
Getting accurate measurements from the right tools gives you a solid foundation to make meaningful improvements — and helps you prove the value of those improvements with hard data.
Secure and Optimize Your Website for Search Engines
Switch to HTTPS to Build Trust and Improve Rankings
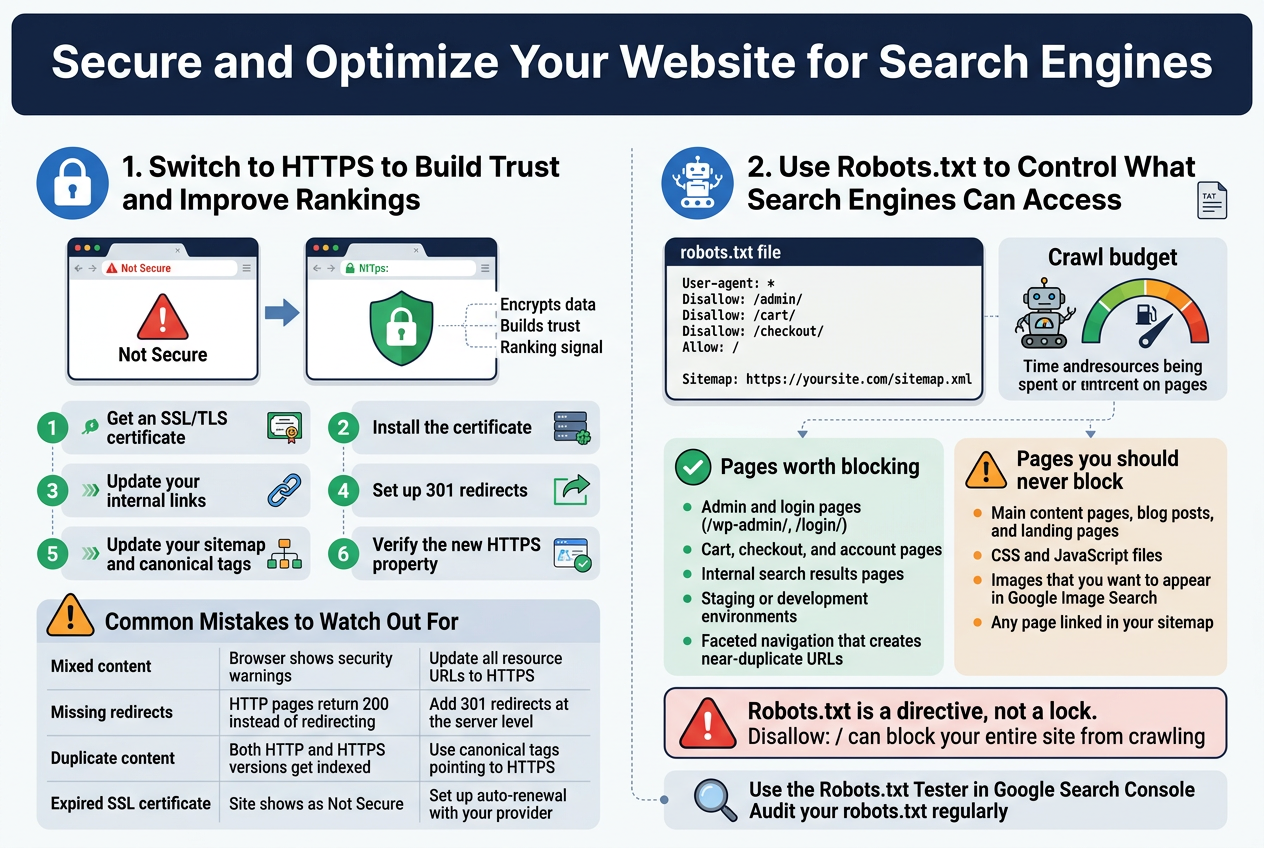
If your website is still running on HTTP, you’re leaving a pretty big red flag sitting right at the top of your site. Browsers like Chrome actively warn visitors that your site is “Not Secure,” and that alone is enough to send people clicking away before they even read a single word you’ve written.
HTTPS encrypts the connection between your website and your visitors. That means any data exchanged — login details, contact form submissions, payment information — stays private and protected from eavesdroppers. Google confirmed HTTPS as a ranking signal back in 2014, and its weight in the algorithm has only grown since then.
How to Make the Switch
Moving from HTTP to HTTPS isn’t as scary as it sounds. Here’s what the process generally looks like:
- Get an SSL/TLS certificate — You can grab a free one through Let’s Encrypt, or your hosting provider might include one in your plan.
- Install the certificate on your server (most hosts have a one-click option for this).
- Update your internal links — Change all hardcoded HTTP URLs in your content, images, and scripts to HTTPS.
- Set up 301 redirects from every HTTP URL to its HTTPS version so you don’t lose your existing link equity.
- Update your sitemap and canonical tags to reflect the HTTPS versions.
- Verify the new HTTPS property in Google Search Console.
Common Mistakes to Watch Out For
A lot of sites switch to HTTPS but end up with mixed content issues — where the page loads over HTTPS but pulls in images, scripts, or stylesheets via HTTP. This breaks the secure connection and can trigger browser warnings even on a “secure” page.
| Issue | What Happens | How to Fix |
|---|---|---|
| Mixed content | Browser shows security warnings | Update all resource URLs to HTTPS |
| Missing redirects | HTTP pages return 200 instead of redirecting | Add 301 redirects at the server level |
| Duplicate content | Both HTTP and HTTPS versions get indexed | Use canonical tags pointing to HTTPS |
| Expired SSL certificate | Site shows as “Not Secure” | Set up auto-renewal with your provider |
Once everything is set up correctly, HTTPS becomes a baseline expectation — both from Google and from real people visiting your site.
Use Robots.txt to Control What Search Engines Can Access
Your robots.txt file is a small text file that sits at the root of your domain (e.g., yoursite.com/robots.txt), and it acts like a set of instructions for search engine crawlers. You’re essentially telling bots which parts of your site they’re welcome to crawl and which areas they should leave alone.
This matters because search engine crawlers have a limited crawl budget — the amount of time and resources Googlebot is willing to spend on your site. If you’re wasting that budget on pages that offer zero SEO value, like admin dashboards, thank-you pages, or duplicate parameter-based URLs, Googlebot spends less time on the pages that actually matter.
What a Robots.txt File Looks Like
Here’s a simple example:
User-agent: *
Disallow: /admin/
Disallow: /cart/
Disallow: /checkout/
Allow: /

Sitemap: https://yoursite.com/sitemap.xml
Breaking this down:
- User-agent: * — applies to all crawlers
- Disallow — blocks crawlers from accessing specific paths
- Allow — explicitly permits access to certain paths (useful when a disallowed parent folder has a subfolder you want crawled)
- Sitemap — points crawlers directly to your XML sitemap
What You Should and Shouldn’t Block
Knowing what to block is where a lot of people trip up. Blocking the wrong pages can seriously hurt your rankings.
Pages worth blocking:
- Admin and login pages (
/wp-admin/,/login/) - Cart, checkout, and account pages
- Internal search results pages
- Staging or development environments
- Pages with faceted navigation that create hundreds of near-duplicate URLs
Pages you should never block:
- Your main content pages, blog posts, and landing pages
- CSS and JavaScript files — Google needs these to render your pages properly
- Images that you want to appear in Google Image Search
- Any page linked in your sitemap
A Few Important Things to Keep in Mind
Robots.txt is a directive, not a lock. It tells well-behaved bots like Googlebot what not to crawl, but it doesn’t prevent those pages from appearing in search results if another site links to them. If you want to truly hide a page from search results, you need a noindex meta tag or an X-Robots-Tag HTTP header — robots.txt alone won’t cut it.
Also, a mistake in your robots.txt file can accidentally block your entire site from being crawled. Something as small as:
Disallow: /
…wipes out your entire site’s visibility to search engines. Always double-check your file using the Robots.txt Tester tool inside Google Search Console before pushing any changes live.
Regularly auditing your robots.txt as your site grows is a smart habit to build. Pages that made sense to block two years ago might now need to be crawled, and new sections of your site might need restrictions added.
Use Structured Data to Stand Out in Search Results
Understand How Schema Markup Enhances Search Visibility
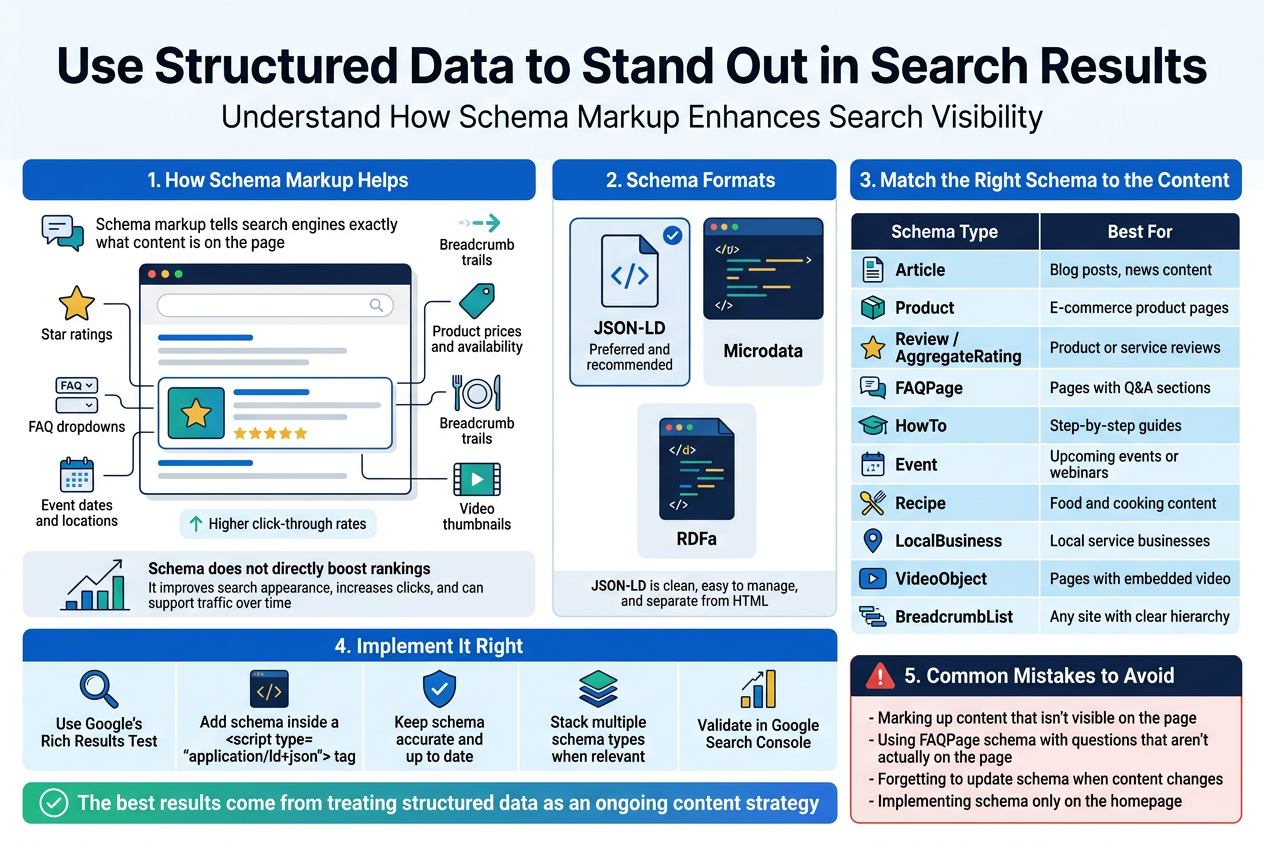
Schema markup is essentially a conversation between your website and search engines. Instead of leaving Google to guess what your content is about, schema gives it direct answers. You’re telling search engines exactly what type of content exists on a page — whether that’s a recipe, a product, a review, an event, or a how-to guide.
When search engines understand your content deeply, they can reward you with rich results — those eye-catching search listings that show star ratings, prices, FAQs, images, and other extras right on the search results page. These rich results don’t just look better; they perform better. They grab attention, build trust before a user even clicks, and can dramatically improve your click-through rate.
Here’s what schema markup can unlock in search results:
- Star ratings shown directly under your page title
- FAQ dropdowns that expand right in the search results
- Product prices and availability for e-commerce pages
- Event dates and locations for upcoming events
- Recipe details like cook time, calories, and ratings
- Breadcrumb trails that show users where a page sits in your site structure
- Video thumbnails with duration and publish date
The key thing to understand is that schema doesn’t directly boost your rankings in the traditional sense — it doesn’t change how Google scores your page authority. What it does is make your listing far more attractive and informative in the search results, which leads to higher click-through rates, and that organic traffic signal can indirectly support your rankings over time.
Google supports schema written in three formats — JSON-LD, Microdata, and RDFa — but JSON-LD is the preferred and recommended format. It’s clean, easy to manage, and sits separately from your HTML content, making it simple to update without touching the page structure.
Implement the Right Schema Types for Your Content
Not every schema type is relevant to every website. Slapping random schema onto pages just to have it there won’t help — and in some cases, using schema that doesn’t match your actual content can get your rich results manually removed by Google. The goal is matching the right schema type to what your content genuinely offers.
Here’s a practical breakdown of common schema types and when to use them:
| Schema Type | Best For | Rich Result Potential |
|---|---|---|
Article | Blog posts, news content | Top stories carousel, article details |
Product | E-commerce product pages | Price, availability, ratings in results |
Review / AggregateRating | Product or service reviews | Star ratings in search snippets |
FAQPage | Pages with Q&A sections | Expandable FAQ dropdowns in results |
HowTo | Step-by-step guides | Step listings shown in search results |
Event | Upcoming events or webinars | Date, location, ticket info in results |
Recipe | Food and cooking content | Cook time, ratings, calorie info |
LocalBusiness | Local service businesses | Business hours, phone, map details |
VideoObject | Pages with embedded video | Video thumbnail, duration in results |
BreadcrumbList | Any site with clear hierarchy | Breadcrumb path shown in URL line |
Getting the Implementation Right
Once you’ve identified the right schema types for your pages, here’s how to roll it out cleanly:
- Use Google’s Rich Results Test — Before going live with any schema, paste your JSON-LD into Google’s Rich Results Test to check for errors and confirm eligibility for rich result features.
- Add schema inside a
<script>tag — Place your JSON-LD in the<head>or<body>of the page inside a<script type="application/ld+json">tag. - Keep schema data accurate and up-to-date — If your product goes out of stock, your schema should reflect that. If your event passes, remove the event schema. Stale or misleading data can trigger manual penalties.
- Stack multiple schema types when relevant — A single page can have more than one schema type. A product page might combine
Product,AggregateRating, andBreadcrumbListschema simultaneously. - Validate in Google Search Console — After deploying schema, monitor the Enhancements section in Search Console. Google will flag any errors, warnings, or pages that are valid and eligible for rich results.
Common Mistakes to Avoid
- Marking up content that isn’t visible on the page — Google considers this spammy
- Using
FAQPageschema with questions that aren’t actually on the page - Forgetting to update schema when content changes (especially prices and dates)
- Implementing schema only on the homepage and ignoring deep pages where the traffic opportunity is higher
The sites that get the most out of structured data are the ones treating it as an ongoing content strategy rather than a one-time technical task. As you build new content types — guides, product pages, local landing pages — baking in the appropriate schema from the start becomes a natural part of the publishing process.
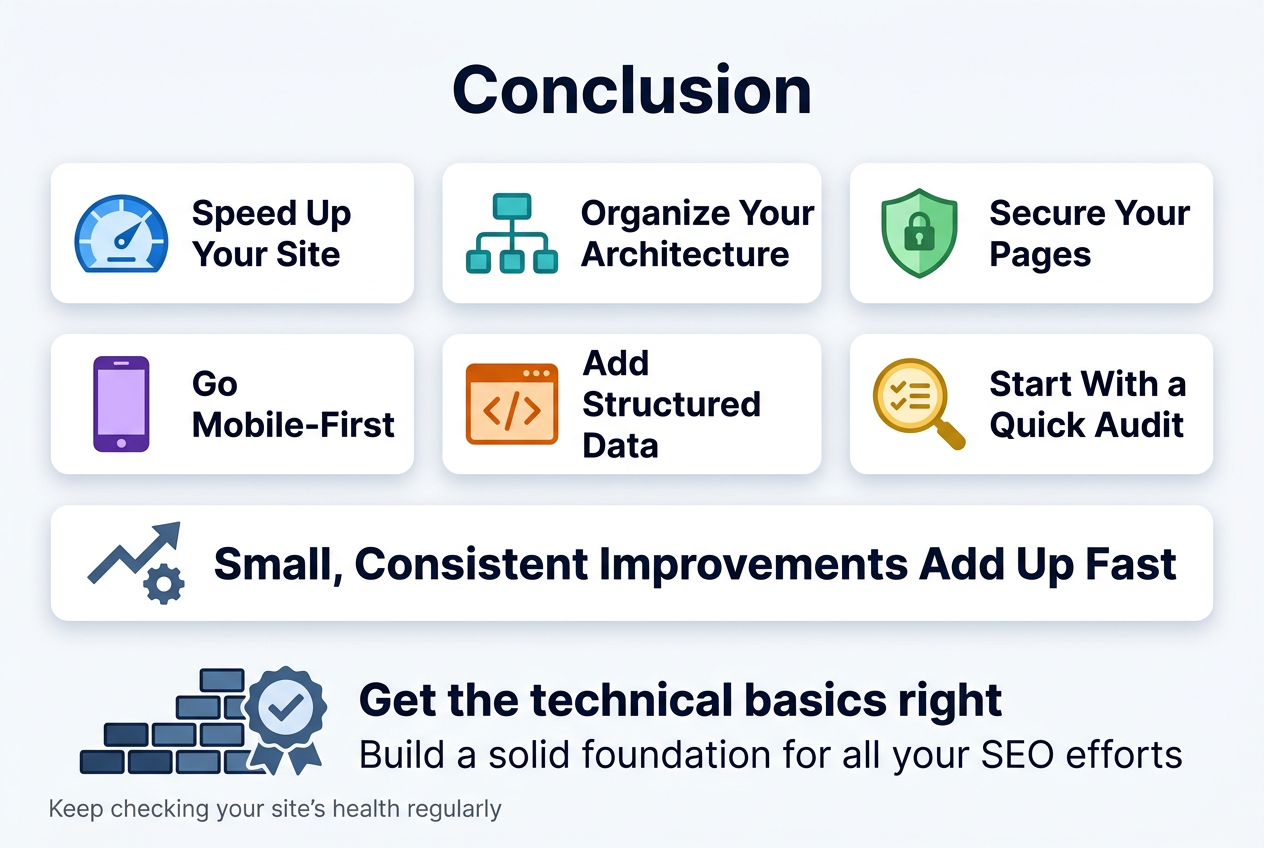
Technical SEO might feel overwhelming at first, but breaking it down into these core areas makes it much more manageable. From speeding up your site and organizing your architecture to securing your pages, going mobile-first, and adding structured data — each piece plays a real role in how search engines find, read, and rank your content. Skipping any of these can quietly hold your site back, even if your content is great.
The good news is that you don’t have to fix everything overnight. Start with a quick audit to spot your biggest gaps, tackle them one by one, and keep checking in on your site’s health regularly. Small, consistent improvements add up fast. Get these technical basics right, and you’re building on a solid foundation that gives all your other SEO efforts a much better chance of paying off.
